
Smarter Assisted Setup Guide - US
Introduction
The following details the steps required to ensure you get the best experience out of our Smarter Assisted Setup app. Before starting, please make sure you have the following information ready to input or import.
- Company Information
- Chart of Accounts from previous systems
- Customers General Information
- Vendors General Information
- Bank Accounts Information
- Inventory Information
- Fixed Assets Information
Excel Template
There is an excel spreadsheet that accompanies this guide.
01 – Chart of Accounts
The following columns are shown in excel template worksheet

Note: Do not use this worksheet if the business elects to use Smarter Chart of Accounts instead of their own.
Nominal Account No.: This is the customer’s own nominal accounts that they wish to use in Business Central. Free text field for up to a maximum of 20 characters.
Legacy Nominal Account No: This is the customer’s own nominal accounts from existing legacy system. Free text field for up to a maximum of 10 characters.
Nominal Account Description: This is the customer’s own nominal accounts description that they wish to use in Business Central. Free text field for up to a maximum of 100 characters.
Account Type: Select from the drop down list. Only the following drop down values are to be used:
- Heading
- Begin-Total
- Posting
- End-Total
- Total
Where nominal accounts are used for transactions – these will be classified under Posting.
Where End Total is selected, there must be a Begin-Total before an End-Total and there must be Posting accounts in between Begin-Total and End Total.
Totalling: Only to be filled in against Account Type of End-Total or Total. Type in the Begin Total nominal account number followed by .. and the End-Total nominal account number. Example: 10000..19999
For Account Type of Total, type in the start of the Posting nominal account number followed by .. and the Total nominal account number. Example: 11110..11999.
Account Categories: Please fill in from the drop down list on excel spreadsheet.
Income/Balance: This field will be auto populated when an account category is selected. If Account Category has been left blank, please fill in either Income Statement or Balance Sheet.
Note: Please create the following nominal code accounts if these are not existing:
- Rounding Account – This should be an Income Statement account
- Realised Gains and Losses - This should be an Income Statement account
- Unrealised Gains and Losses – This can be either Income Statement or Balance Sheet account (based on business finance requirements)
Account Subcategories: Free text field of up to 80 characters
02 – Mapping
This worksheet requires a minimum of 1 reference in each group category for Business Central transactions posting as well as for reporting purposes.
Note: Add more rows on each section if there are requirements for more than what has been provided. The categories can be unlimited.
The accounts can be different or same nominal accounts. It is not necessary to create new nominal accounts for each group.

Customer Mapping
Customer Group: This is to categorise customers and to map nominal accounts. Minimum of 1 category required. Free text field for up to a maximum of 20 characters.
Suggestion: If there is no requirement to categorise your customers, fill in group name – Customers.
Receivables/Debtors Control Account: This is a Balance Sheet account for sales invoiced not paid
Vendor Mapping
Vendor Group: This is to categorise suppliers and to map nominal accounts. Minimum of 1 category required. Free text field for up to a maximum of 20 characters.
Suggestion: If there is no requirement to categorise your vendors, fill in group name – Suppliers.
Payables/Creditors Control Account: This is a Balance Sheet account for purchases invoiced not paid.
Inventory Mapping
Inventory Group: This is a free text field to categorise Inventory and to map nominal accounts. Minimum of 1 category required. Free text field for up to a maximum of 20 characters.
Suggestion: If there is no requirement to categorise your inventory, fill in group name – Inventory.
Inventory Account: This is a Balance Sheet account for closing inventory.
GRNI/GDNI Account: This is a Balance Sheet account for inventory received or shipped and not yet invoiced.
GRNI/GDNI Clearing Account: This is a Balance Sheet account for offsetting GRNI/GDNI Account.
Inventory WIP Account: This is a Balance Sheet account for Inventory with Production BOMs associated. This can be left blank if Items are all based on Type = Purchase.
Inventory Account: This is an Income Statement account for when inventory is sold and/or shipped, representing the cost of goods sold.
Inventory Clearing Account: This is an Income Statement account for offsetting Closing Stock Account on purchase invoices for inventory items.
Inventory Manual Adjustment Account: This is an Income Statement account for when inventory is adjusted manually through various inventory journals.
Sales Account: This is an Income Statement account for sales invoices.
Sales Credit Memo Account: This is an Income Statement account for sales returns. This can be the same account as the Sales Account if a separate account is not required.
Sales Discount Account: This is an Income Statement account for sales discounts.
Purchases Account: This is an Income Statement account for purchase invoices.
Purchase Credit Memo Account: This is an Income Statement account for purchase returns. This can be the same account as the Purchase Account if a separate account is not required.
Purchase Discount Account: This is an Income Statement account for purchase discounts.
Fixed Asset Mapping
FA Class: This is a drop down list. If a class is not found on this list, please reach out to your Microsoft Partner for further assistance.
FA Group: This is to categorise and group fixed assets. Each group will be linked to the relevant nominal accounts for fixed assets transactions posting. Free text field for up to a maximum of 10 characters.
Acquisition Cost Account: This is a Balance Sheet account for fixed assets acquisitions.
Accumulated Depreciation Account: This is a Balance Sheet account for fixed assets depreciation
Depreciation Account: This is an Income Statement account for fixed assets depreciation
Gains/Losses on Disposal Account: This is an Income Statement account for fixed assets disposal gains or losses.
03-Bank Accounts
This worksheet is for company bank details:

Bank Code: Reference code for bank of up to 20 characters. Can be alpha numeric
Bank Name: Self Explanatory. Free text field for up to a maximum of 20 characters.
Sort Code: 6 digit number.
Account No: 8 digit number.
Currency Code: Select from drop down list for foreign currency. For local currency (example GBP), leave blank.
If relevant currency codes are not found on this list, please reach out to your Microsoft Partner for further assistance.
IBAN: Optional field. Self-explanatory
Swift: Mandatory field. Self-explanatory (Also known as Bank Identifier Code)
GL Account No: Select from 01-COA
04-Customers
This worksheet is for customers details.

Customer Ref No: Either from existing systems or create own reference. Example: 10000 or C1000 etc. Free text field for up to a maximum of 20 characters.
Customer Name: Self-explanatory. Free text field for up to a maximum of 100 characters.
Country: Select from drop down list. If relevant countries are not found on this list, please reach out to your Microsoft Partner for further assistance.
Address: Self-explanatory. Free text field for up to a maximum of 100 characters.
Address 2: Self-explanatory. Free text field for up to a maximum of 50 characters.
City: Self explanatory. Free text field for up to a maximum of 30 characters.
County: Self explanatory. Free text field for up to a maximum of 30 characters.
Post Code: Self explanatory
Email: Self explanatory
Credit Limit: Self explanatory
Currency Code: Select from drop down list for foreign currency. For local currency (example GBP), leave blank. If relevant currency codes are not found on this list, please reach out to your Microsoft Partner for further assistance.
VAT Group: Select from drop down list. Customer Group: Refer to 02-Mapping and fill in the relevant Customer Group code.
Payment Terms: Select from drop down list. If relevant payment terms are not found on this list, please reach out to your Microsoft Partner for further assistance.
VAT Registration No : this is an optional field (for UK). If setting up for countries that specifically require VAT No, please fill in
EORI Number: this is an optional field (for UK). If setting up for countries that specifically require this, please fill in
GLN: this is an optional field (for UK). If setting up for countries that specifically require this, please fill in
05-Vendors (Suppliers)

Supplier Ref No: Either from existing systems or create own reference. Example: 10000 or V1000 etc. Free text field for up to a maximum of 20 characters.
Supplier Name: Self explanatory. Free text field for up to a maximum of 100 characters.
Address: Self explanatory, Free text field for up to a maximum of 100 characters.
Address 2: Self explanatory. Free text field for up to a maximum of 50 characters.
City: Self explanatory. Free text field for up to a maximum of 30 characters.
County: Self explanatory. Free text field for up to a maximum of 30 characters.
Post Code: Self explanatory
Country: Select from drop down list. If relevant countries are not found on this list, please reach out to your Microsoft Partner for further assistance.
Email: Self explanatory
Currency Code: Select from drop down list for foreign currency. For local currency (example GBP), leave blank. If relevant currency codes are not found on this list, please reach out to your Microsoft Partner for further assistance.
VAT Group: Select from drop down list
Vendor Group: Refer to 02-Mapping and fill in the relevant Vendor Group code.
Payment Terms: Select from drop down list. If relevant payment terms are not on this list, please reach out to your Microsoft Partner for further assistance.
VAT Registration No : this is an optional field (for UK). If setting up for countries that specifically require VAT No, please fill in
EORI Number: this is an optional field (for UK). If setting up for countries that specifically require this, please fill in
GLN: this is an optional field (for UK). If setting up for countries that specifically require this, please fill in
06-Inventory
This worksheet is for inventory details

Inventory Ref No: Either from existing systems or create own reference. Example: 10000 or ST1000 etc. Free text field for up to a maximum of 20 characters.
Inventory Description: Self Explanatory. Free text field for up to a maximum of 100 characters.
Base Unit of Measure: This should be the lowest denominator for the item. For example, purchase is in a pack and sales is in each. Therefore, base unit of measure should be each. Select from drop down list. If relevant unit of measures are not on this list, please reach out to your Microsoft Partner for further assistance.
Item Group: Refer to 02-Mapping and fill in the relevant Item Group code.
VAT Type: Select from drop down list.
Standard Cost: Leave Blank unless Standard Costing Method is selected.
GTIN: this is an optional field (for UK). If setting up for countries that specifically require this, please fill in
07-Fixed Assets
This worksheet is for fixed assets details

Depreciation: Fill in the word ‘Company’ only if using Edit in Excel
Fixed Asset Ref No: Either from existing systems or create own reference. Example: 10000 or ST1000 etc. Free text field for up to a maximum of 20 characters.
Fixed Asset Description: Self Explanatory. Free text field for up to a maximum of 100 characters.
FA Subclass: Refer to 02-Mapping and fill in the relevant FA Group code
Depreciation Start Date: The date the asset originally started depreciating — not when it started in BC.
Depreciation Method: Select from drop down list. If relevant methods are not on this list, please reach out to your Microsoft Partner for further assistance
Depreciation %: Self explanatory. Only fill in when depreciation method selected is a %
Depreciation Years: Self explanatory. Only fill in when depreciation method selected is SL years.
Business Central
Recommendation
We recommend using Smarter Assisted Setup app in a sandbox environment before using in production environment. It is best practice to review data and walkthrough workflows and business process scenarios before deploying to a production environment
Smarter Core Setup
This section goes through the base setup in Business Central.
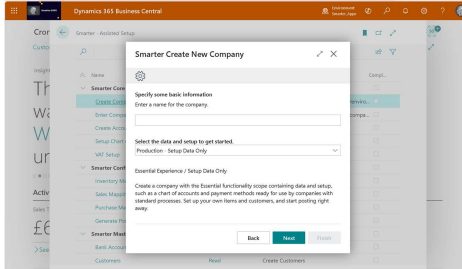
Create New Company
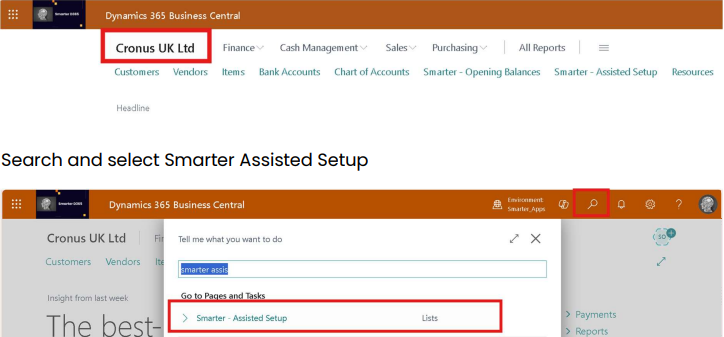
Start with the creation of the new company in Business Central. Log into Business Central. Check that you are in Cronus or Contoso company.
This will open a new page. Select Next
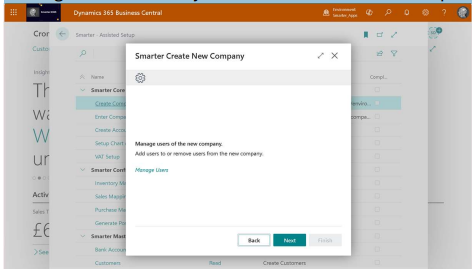
On this page, select Next
Note: get in touch with your Microsoft Partner to set up users separately
Select Finish
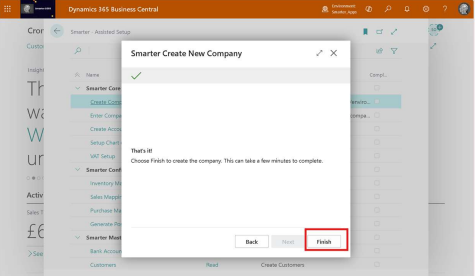
The solution will then pop up a message asking if you wish to open the new company. Select Yes.
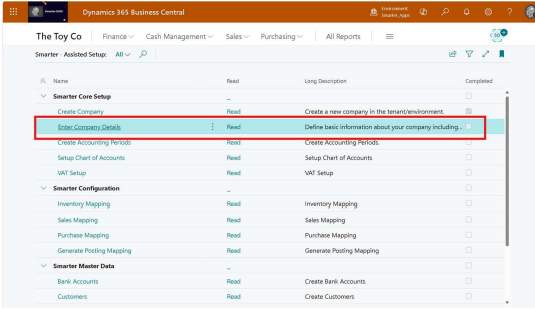
Enter Company Information
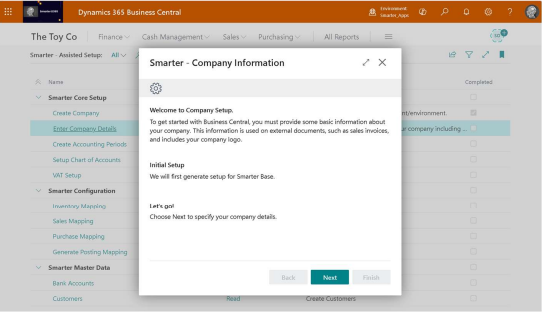
Basic company details such as address, VAT registration number etc is dealt with here. Select Enter Company Details
When you select Next here, this will start Smarter Base setup process. Let this run
When Smarter Base setup process is completed, check the message and ensure it shows 0 errors found. If there are any errors here, please get in touch with your Microsoft Partner.
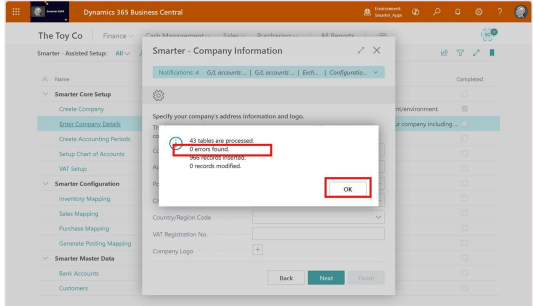
Once OK is selected, fill in company details and select Next. Note: It is not mandatory to fill in all the fields. For example, VAT registration No. can be left blank. Select Next to Finish.
Create Accounting Periods
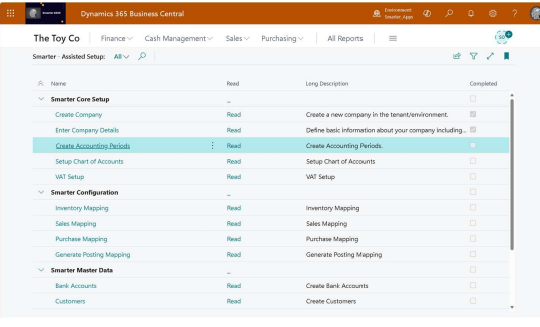
Accounting periods, also known as reporting periods, are periods of time for which a company or organization reports financial performance by generating, for example, their income statement or balance sheet. Typically, accounting periods refer to the company's fiscal year, which can contain several accounting periods, such as months or quarters.
Select Create Accounting Periods
This will open up a new page:
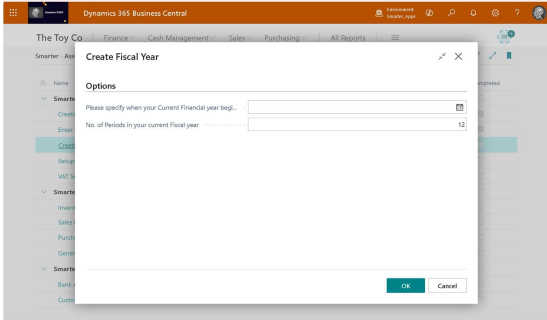
For many companies the fiscal year doesn't align with the calendar year, for instance when the fiscal year ends on June 30 rather than December 31. For newly created companies, the fiscal year might even actually be longer or shorter than 12 months.
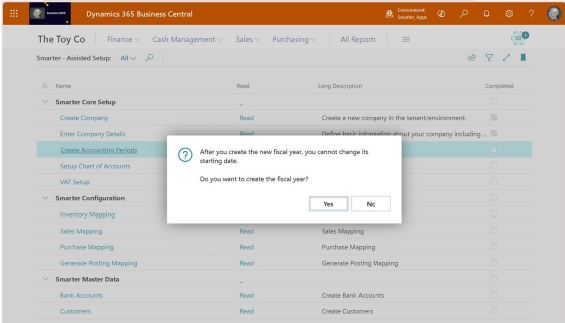
Note: The accounting date will be locked once it is created. Therefore, make sure the correct date and especially the correct year is chosen.
Current Financial Year begins: This is a date field.
No. of Periods in your current Fiscal year: Enter the number of accounting periods to divide the fiscal year into. For example, this can be up to 365 periods, 52 weeks or 12 months in a year
Select OK and Select Yes here if you wish to create Accounting Periods.
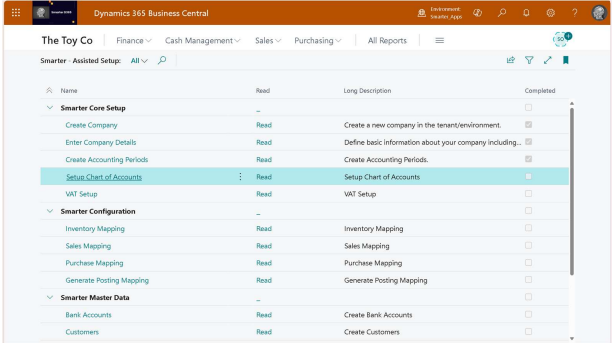
Setup Chart of Accounts
A chart of accounts (COA) serves as a comprehensive directory of financial accounts and their corresponding reference numbers. A COA typically has of two main categories of accounts:
• Balance sheet accounts: These accounts track your company’s assets, debts, and net worth.
• Income statement accounts: These accounts record income from various sources and also track expenses.
Balance sheet accounts are further categorized into three groups
1. Asset accounts: These accounts track all the valuable resources owned by your company.
2. Liability accounts: They record your company’s debts.
3. Equity accounts: Represent the residual value in the business after subtracting liabilities from assets.
Income accounts are divided into three groups:
1. Income accounts: These accounts capture your company’s income from various sources.
2. Cost of Goods Sold: These accounts capture your company’s direct costs of sales from various sources.
3. Expense accounts: These accounts capture all your company’s expenses. The Chart of Accounts record transactions in your organization’s general ledger.
Each account typically has an identifier (account number) and a description, and they're systematically coded based on their account type.
Select Setup Chart of Accounts
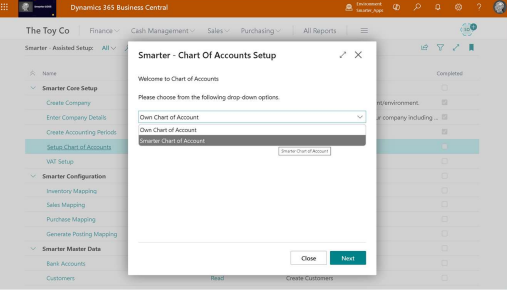
A pop out page will appear. Select the drop down and decide on one of the options.
Own Chart of Accounts – This is self-explanatory.
Smarter D365 accounts – This is a templated set of accounts that is preconfigured with all the pre-requisite accounts included.
Own Chart of Accounts
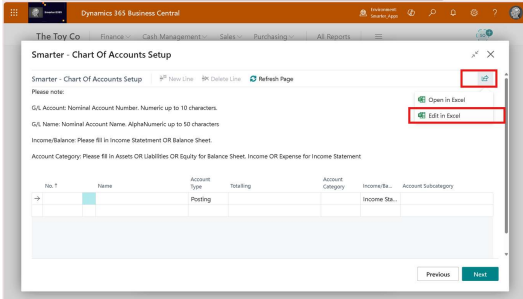
Select Own Chart of Accounts and this will pop out a page: Select icon  and select Edit in Excel.
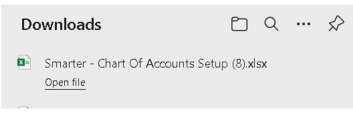
This will download to Excel. Open the file
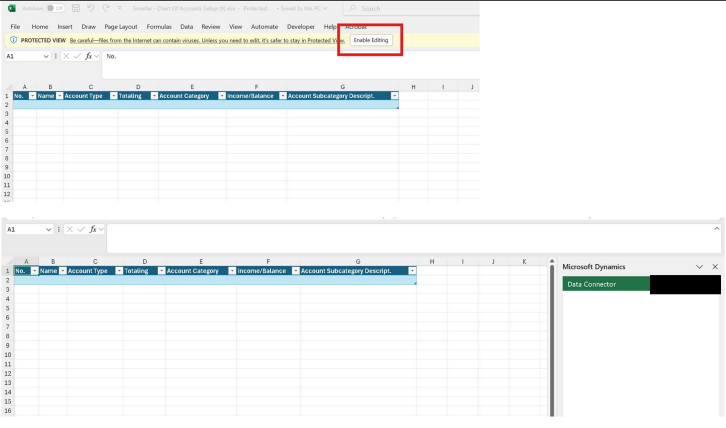
Select Enable Editing and Login to the Data Connector on the right hand pane
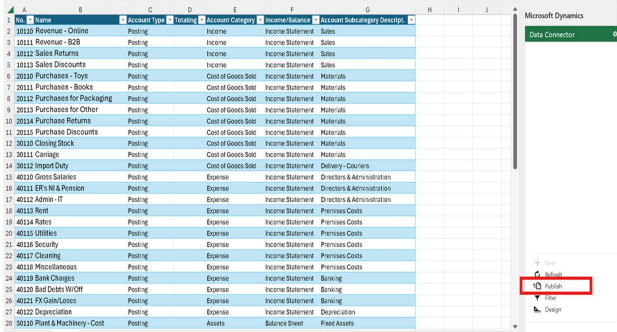
Copy and Paste Chart of Accounts details from Excel template 01-Chart of Accounts. Select Publish.
Return to Business Central and select Refresh Page. This will update from Excel. Select Next.
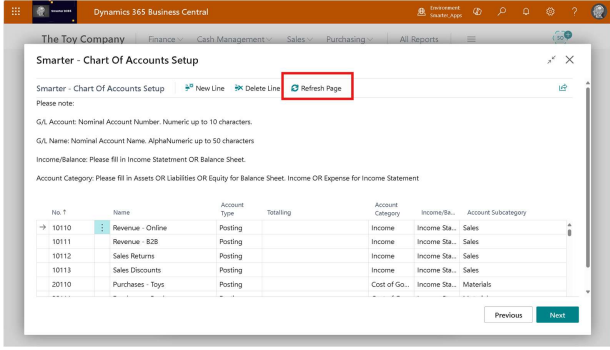
A pop out page will appear:
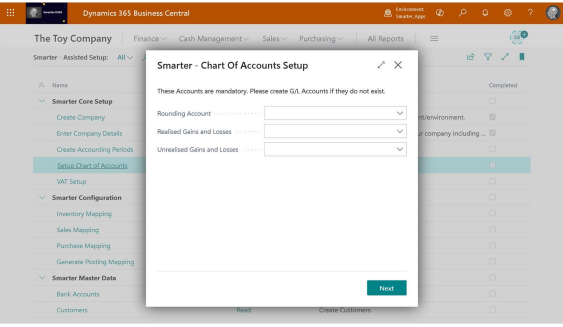
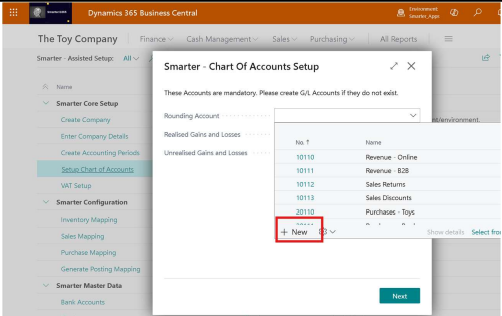
In this page, specify the Accounts required: Select drop down and search for the relevant account for each field.
If there is no existing accounts, select New and start creating these accounts
Once filled out, select Next
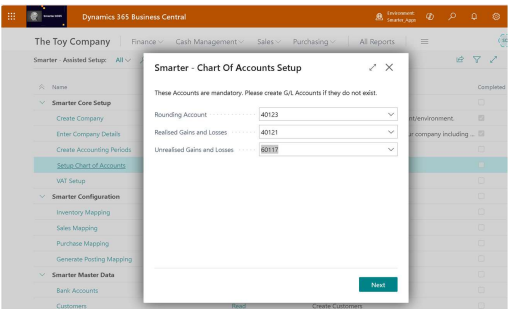
Select Finish
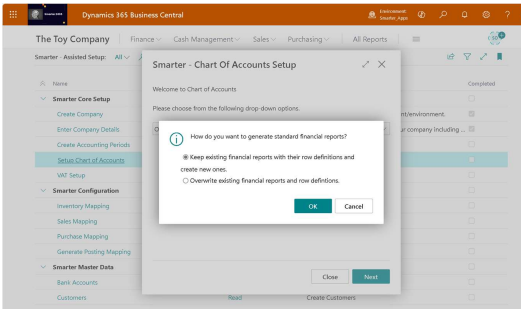
A pop out window will appear with a financial reports message, select either option and select OK
Smarter Chart of Accounts
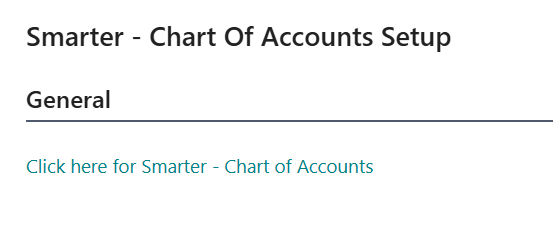
Alternatively, if selecting Smarter Chart of Accounts, select ‘Click here for Smarter Chart of Accounts’
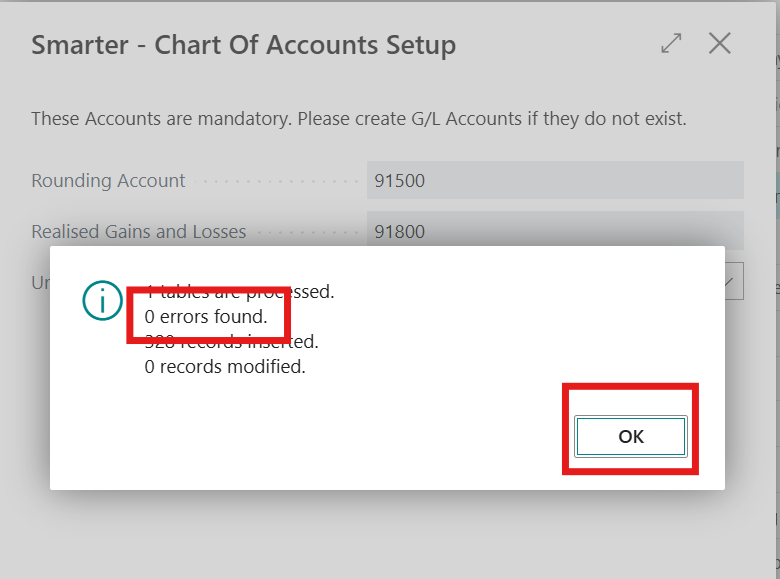
Once this is populated, check that there are 0 errors and select OK. If there are errors, please reach out to your Microsoft Partner for further assistance.
This will take you to the next pop out page.

With templated, the accounts are all pre-populated.
With Unrealised Gains & Losses field, there is an option to change this to the same account as the Realised Gains and Losses Account instead of accepting the Balance Sheet account prepopulated. (each business has their own preference for unrealised gains and losses. Hence, the option provided here).
Select Next
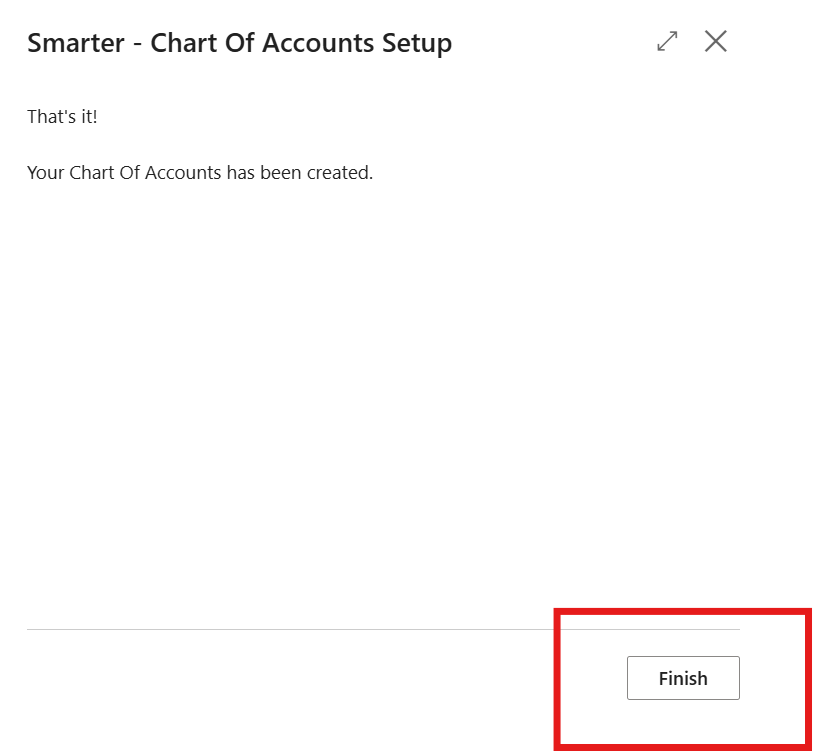
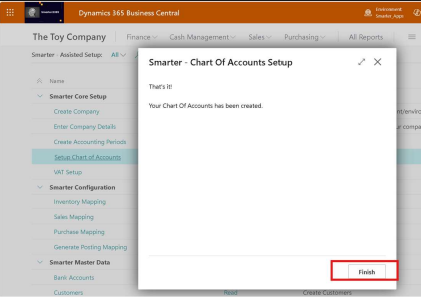
Select Finish

A pop out window will appear with a financial reports message, select either option and select OK
A pop out page will now appear:
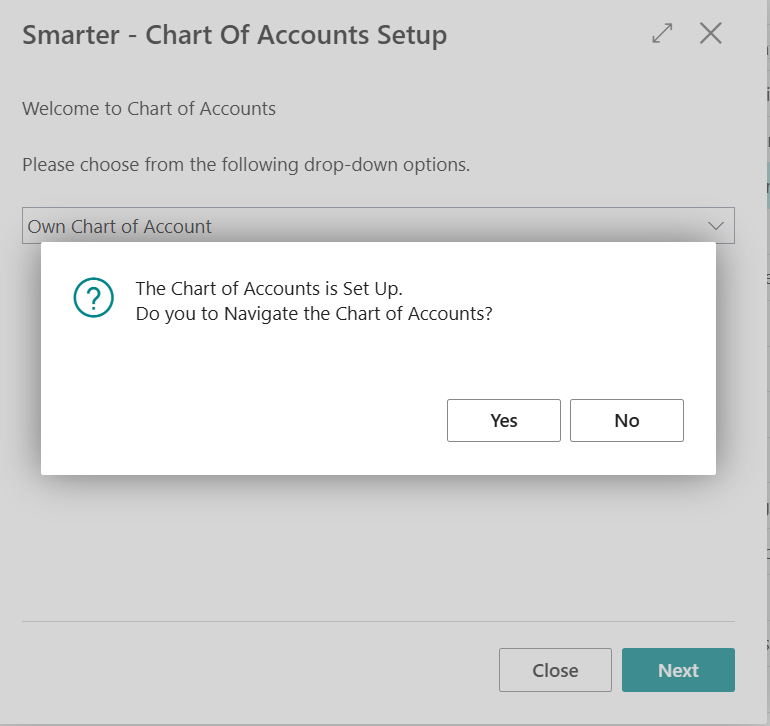
Select No and this will take you back to the Assisted Setup home page
Select yes and this will take you to the Chart of Accounts.
VAT Setup
Smarter VAT Setup will configure and setup VAT in the background based on the values selected in the next few pages.
Select VAT Setup
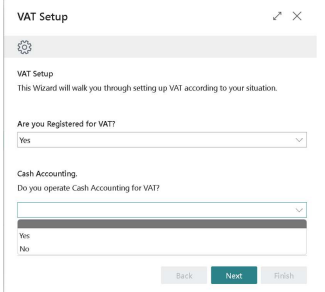
A new page will pop up. Select Yes or No from the drop down
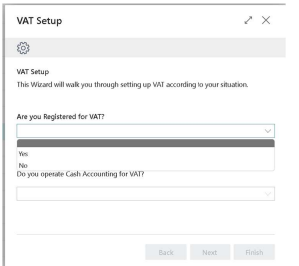
Once the first question is answered, the 2nd question will show Select Yes or No from the drop down. Then select Next
A pop out page will appear:

Fill in the VAT Sales and VAT Purchases GL Accounts from the drop down (with Own Chart of Accounts. This is prepopulated when Smarter Chart of Accounts is selected) and Select Next
Note: There must be two (2) separate accounts for VAT. Do NOT select same accounts for both boxes. Create a new VAT Account if there is only one (1) account.
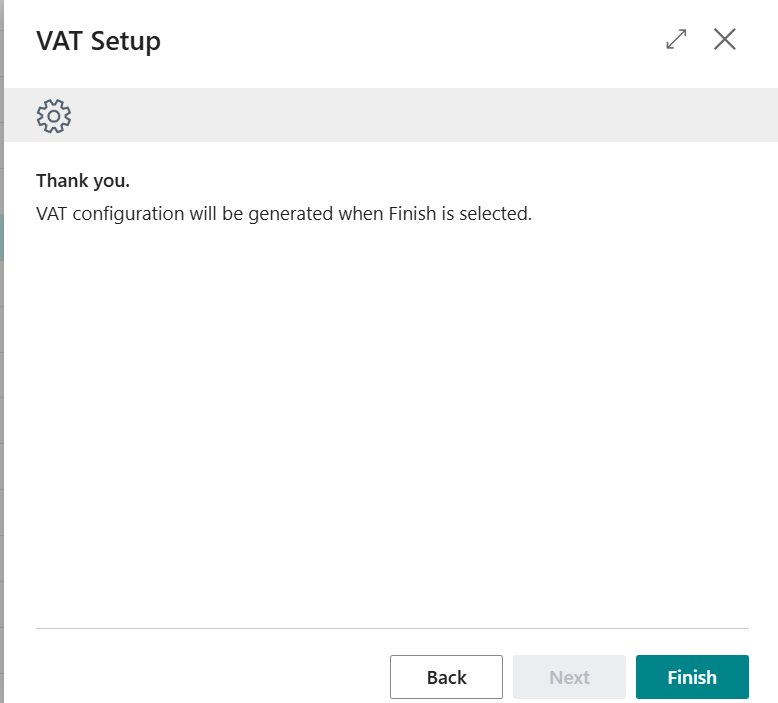
Select Finish
Fixed Asset Setup
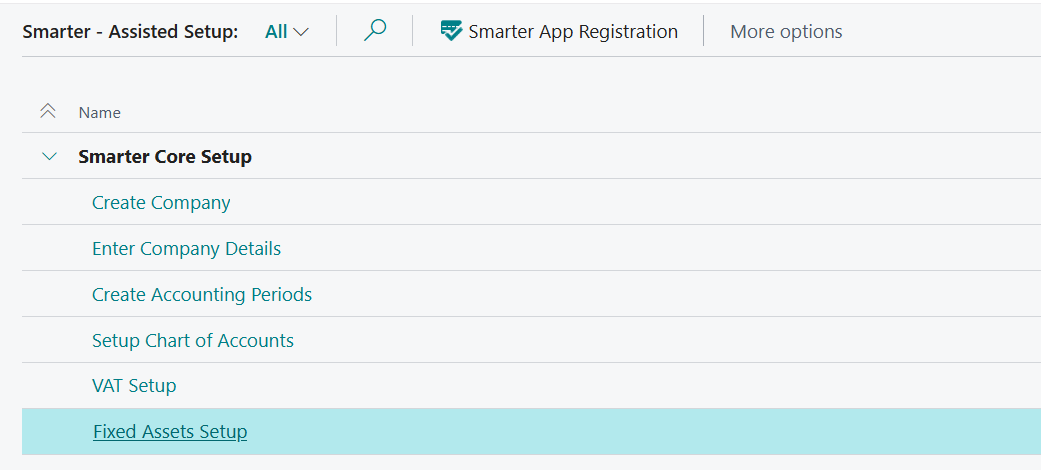
Select Fixed Asset Setup.
Select OK
This concludes Smarter Core Setup Section.
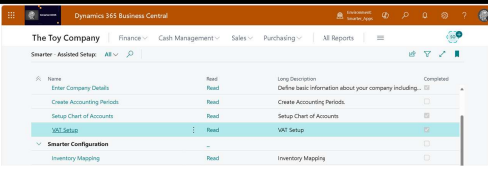
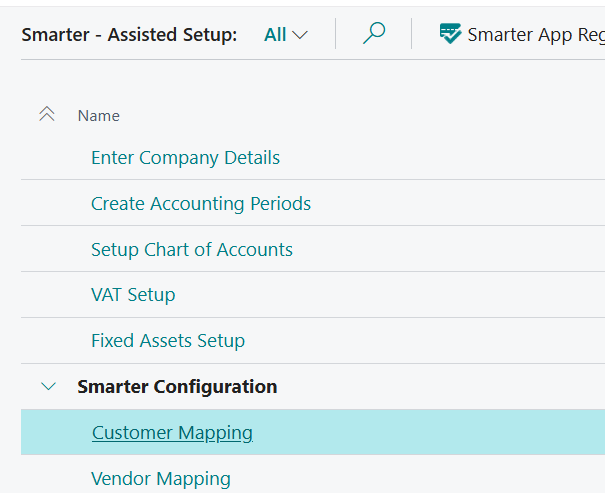
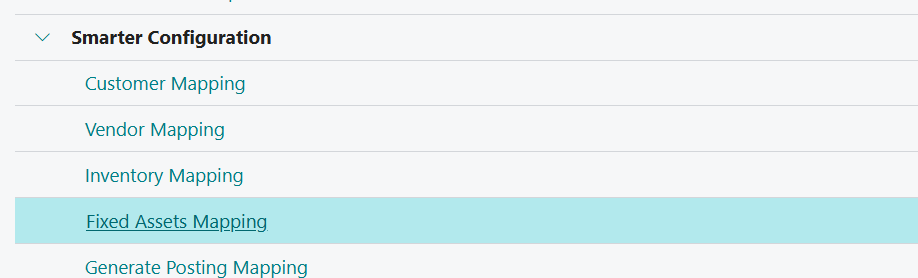
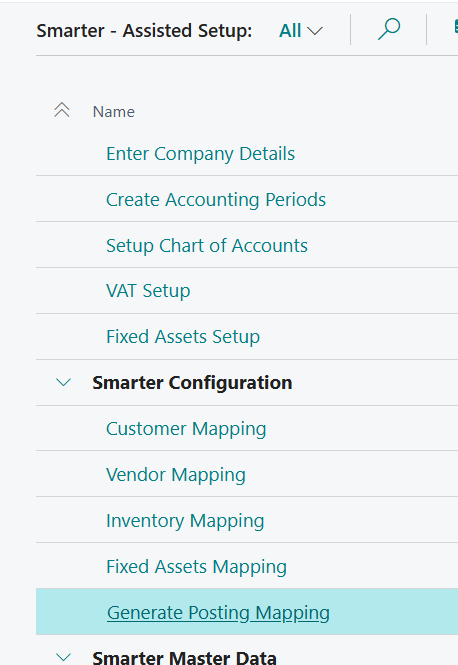
Smarter Configuration
Business Central solution is based on subledgers transactions posting that is then automatically fed to general ledger nominal accounts. This is to ensure that all subledgers will automatically reconcile back to general ledger, reducing the need for month end reconciliation activities.
Groups also allow for categorisation of master data such as customers, vendors, items and bank, for reporting purposes. There should be at least 1 group for each section to map to nominal accounts.
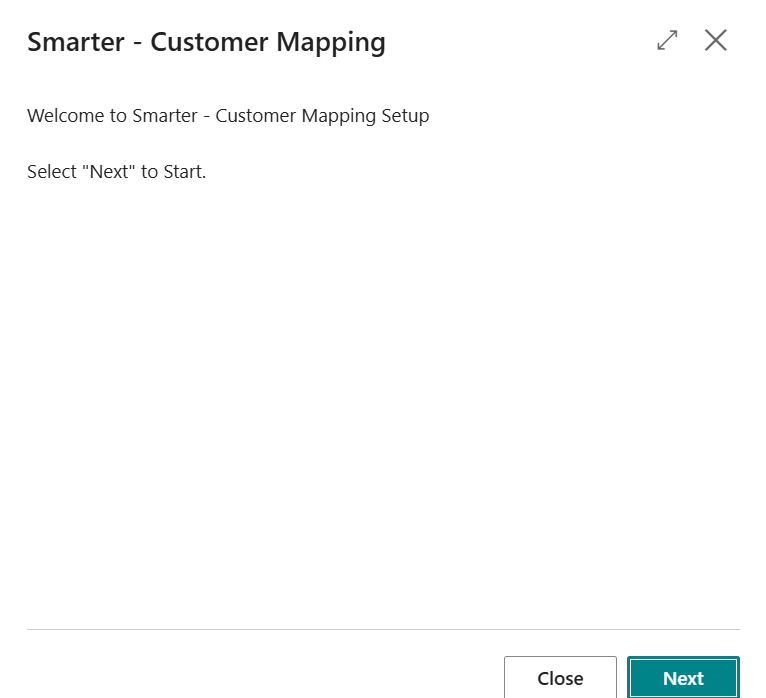
Customer Mapping
Customer groups here are mapped to the relevant nominal accounts.
Select Next
Fill in relevant customer groups and select the relevant nominal accounts.
Note: Nominal accounts is user defined – all to 1 single account, all to different accounts or a combination. Minimum of 1 group must be filled in.
There is the option to utilise Edit in excel or manually input fields here.
Customer Group – Free text field of up to 20 characters. User defined for categorising customers and mapping to their relevant Debtor Control account. Refer to 02-Mapping on Excel template.
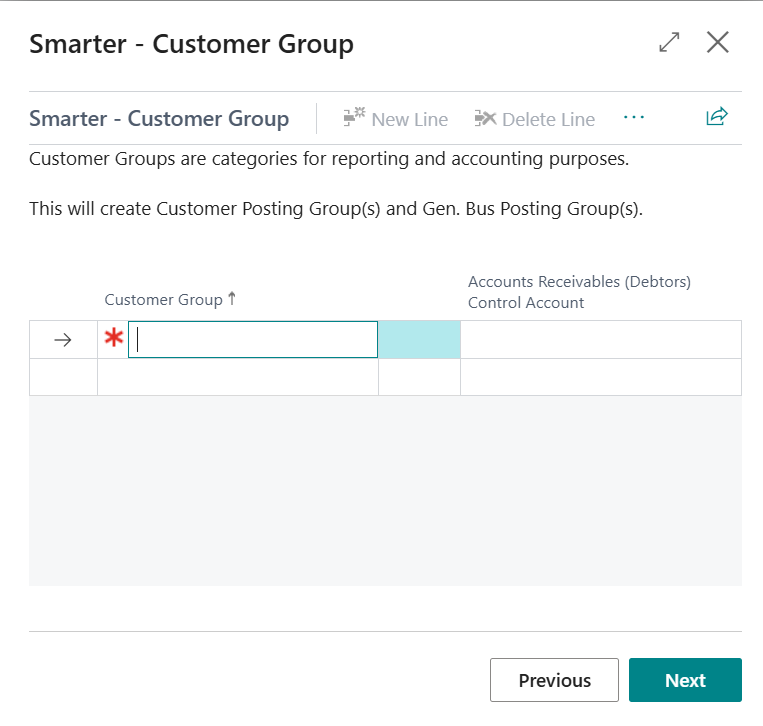
Select Next
At this stage there is the option to Finish or to import customers data here. This training guide will cover master data import under the next section; Smarter Master Data.
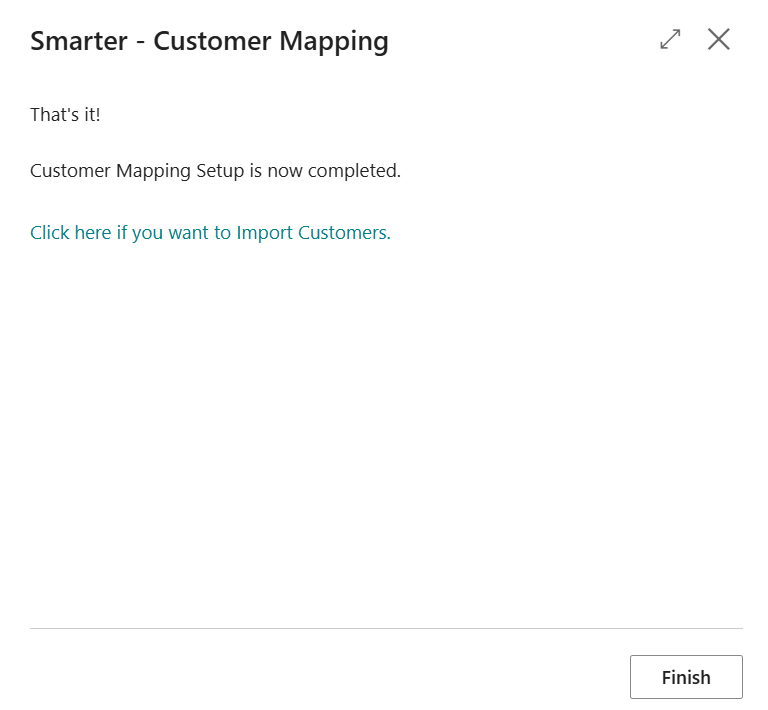
Select Finish
Vendor Mapping
Vendor groups here are mapped to the relevant nominal accounts.
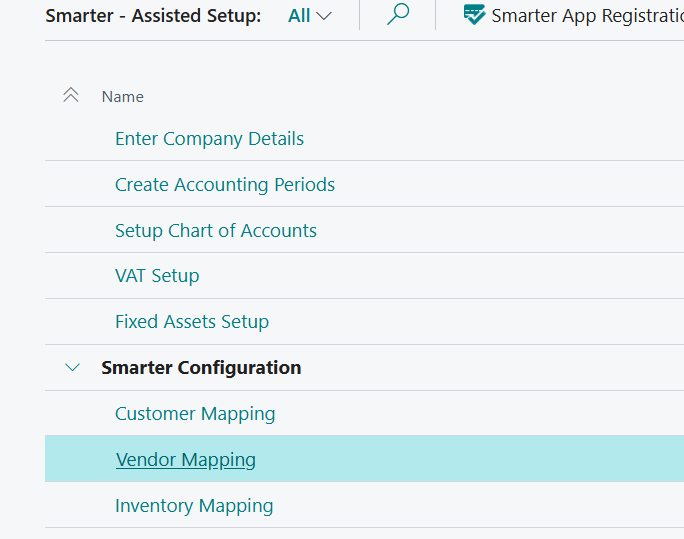
Select Vendor Mapping and this will open a new page.
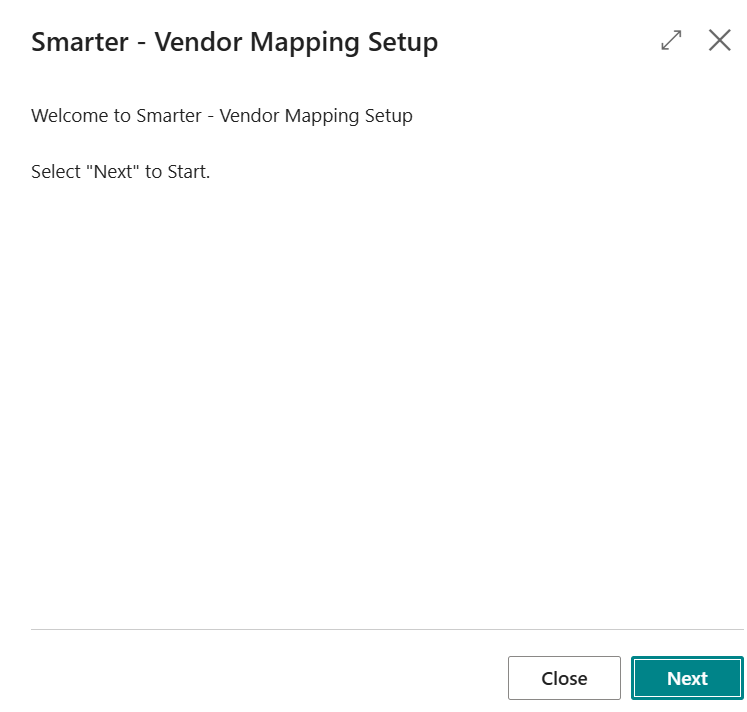
Select Next and this will open the following page:
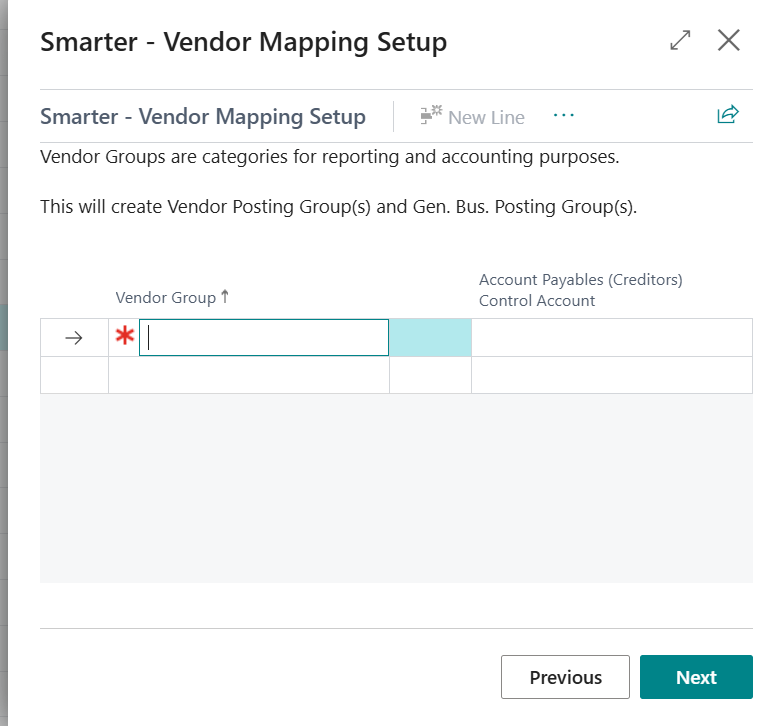
Fill in relevant vendor groups and select the relevant nominal accounts.
Note: Nominal accounts is user defined – all to 1 single account, all to different accounts or a combination. Minimum of 1 group must be filled in.
There is the option to utilise Edit in excel or manually input fields here.
Vendor Group – Free text field of up to 20 characters. User defined for categorising customers and mapping to their relevant Creditors Control account. Refer to 02-Mapping on Excel template. Select Next
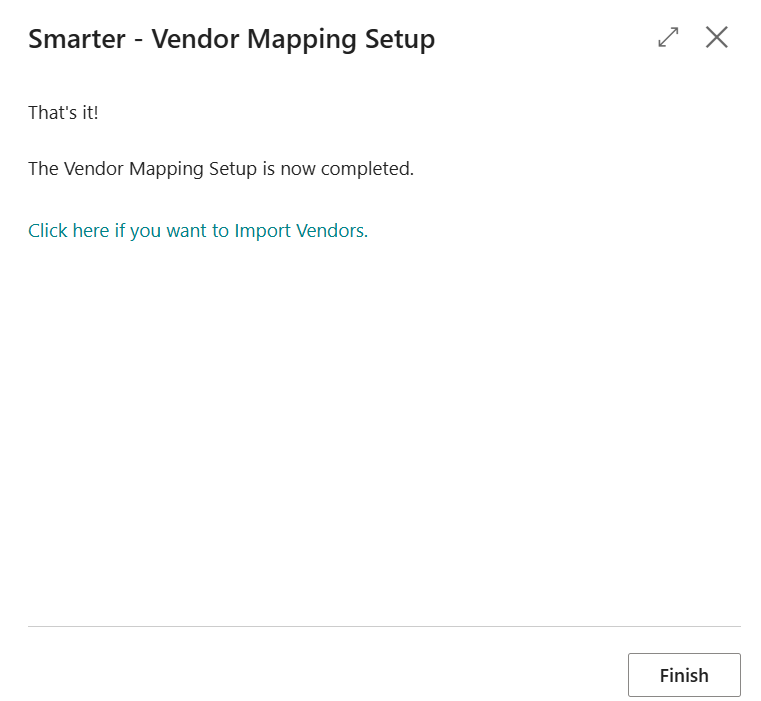
At this stage there is the option to Finish or to import vendors data here. This training guide will cover master data import under the next section; Smarter Master Data.
Select Finish
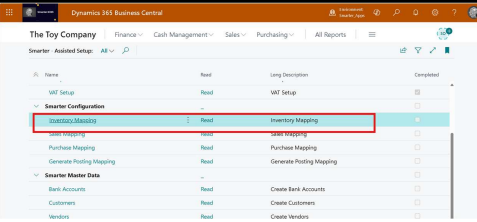
Inventory Mapping
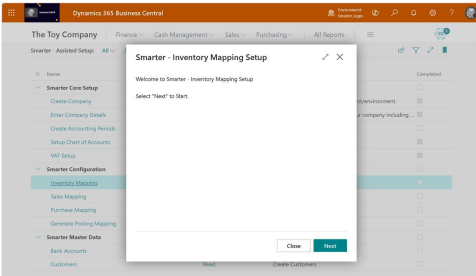
Inventory groups here are mapped to the relevant nominal accounts. Select Inventory Mapping
A new page will pop out. Select Next
From the drop down, select the relevant default inventory costing method.
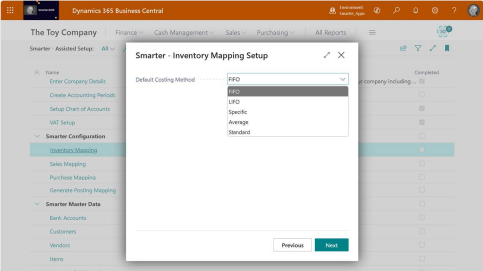
Note: If Standard costing method is chosen, there is a requirement to fill in a Variance account from Chart of Accounts list.
Variance account: This is an Income Statement account
Select Next and the following page will appear:
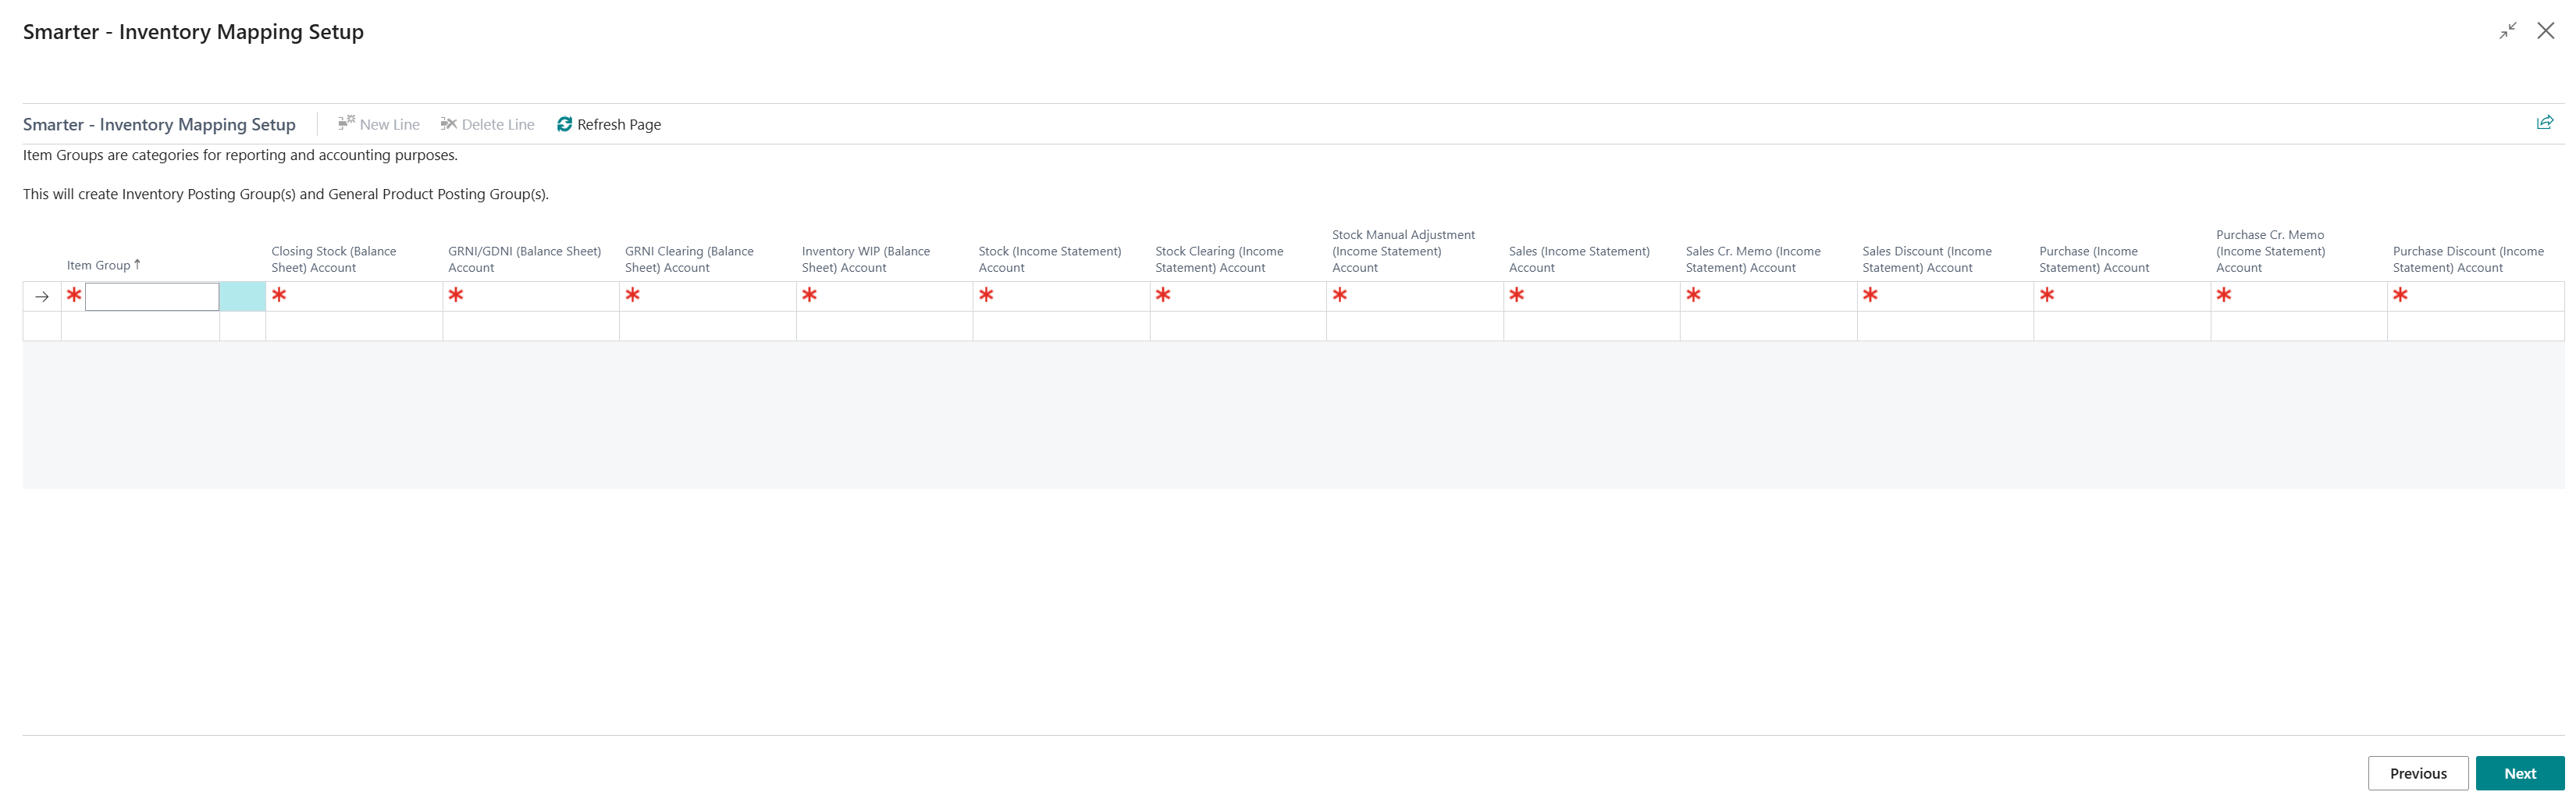
Fill in relevant Item groups and select the relevant nominal accounts.
Note: Nominal accounts are user defined – all to 1 single account, all to different accounts or a combination.
There is the option to utilise Edit in excel or manually input fields here.
Item Group – Free text field of up to 20 characters. User defined for categorising items and mapping to their relevant accounts. Refer to 02-Mapping on Excel template. Select Next
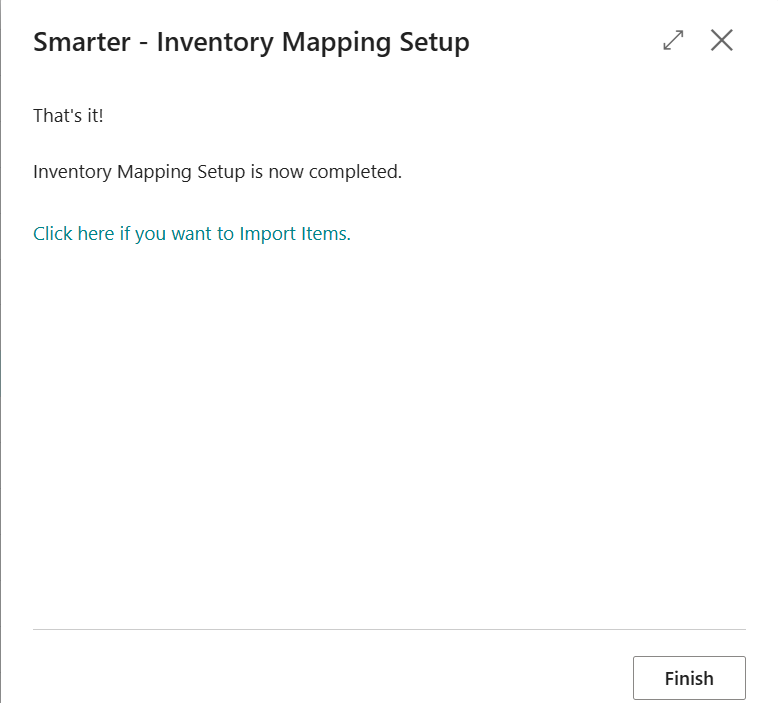
At this stage there is the option to Finish or to import items data here. This training guide will cover master data import under the next section; Smarter Master Data.
Fixed Asset Mapping
Fixed assets mapping are mapped to the relevant nominal accounts. Select Fixed Assets Mapping
This will open a new page

Fill in relevant Fixed Assets class and groups and select the relevant nominal accounts.
Note: Nominal accounts are user defined – all to 1 single account, all to different accounts or a combination.
There is the option to utilise Edit in excel or manually input fields here.
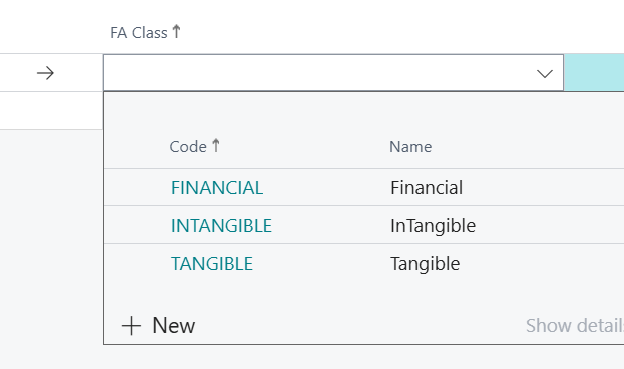
FA Class – This is a drop down list and you have the option to create New class if the options provided here are not sufficient.
FA Group – Free text field of up to 10 characters. User defined for categorising fixed assets and mapping to their relevant accounts. Refer to 02-Mapping on Excel template.

Once populated, select Create Mapping setup and a pop out window will confirm
Select OK
Generate Posting Mapping
This will provide a view of sales and purchases mapped to nominal accounts selected for review. These accounts can be amended by selecting Edit List: Select Generate Posting Mapping
A pop out page will show: Select Yes or No.

If No is selected, this will close.
If Yes is selected, new page will appear.
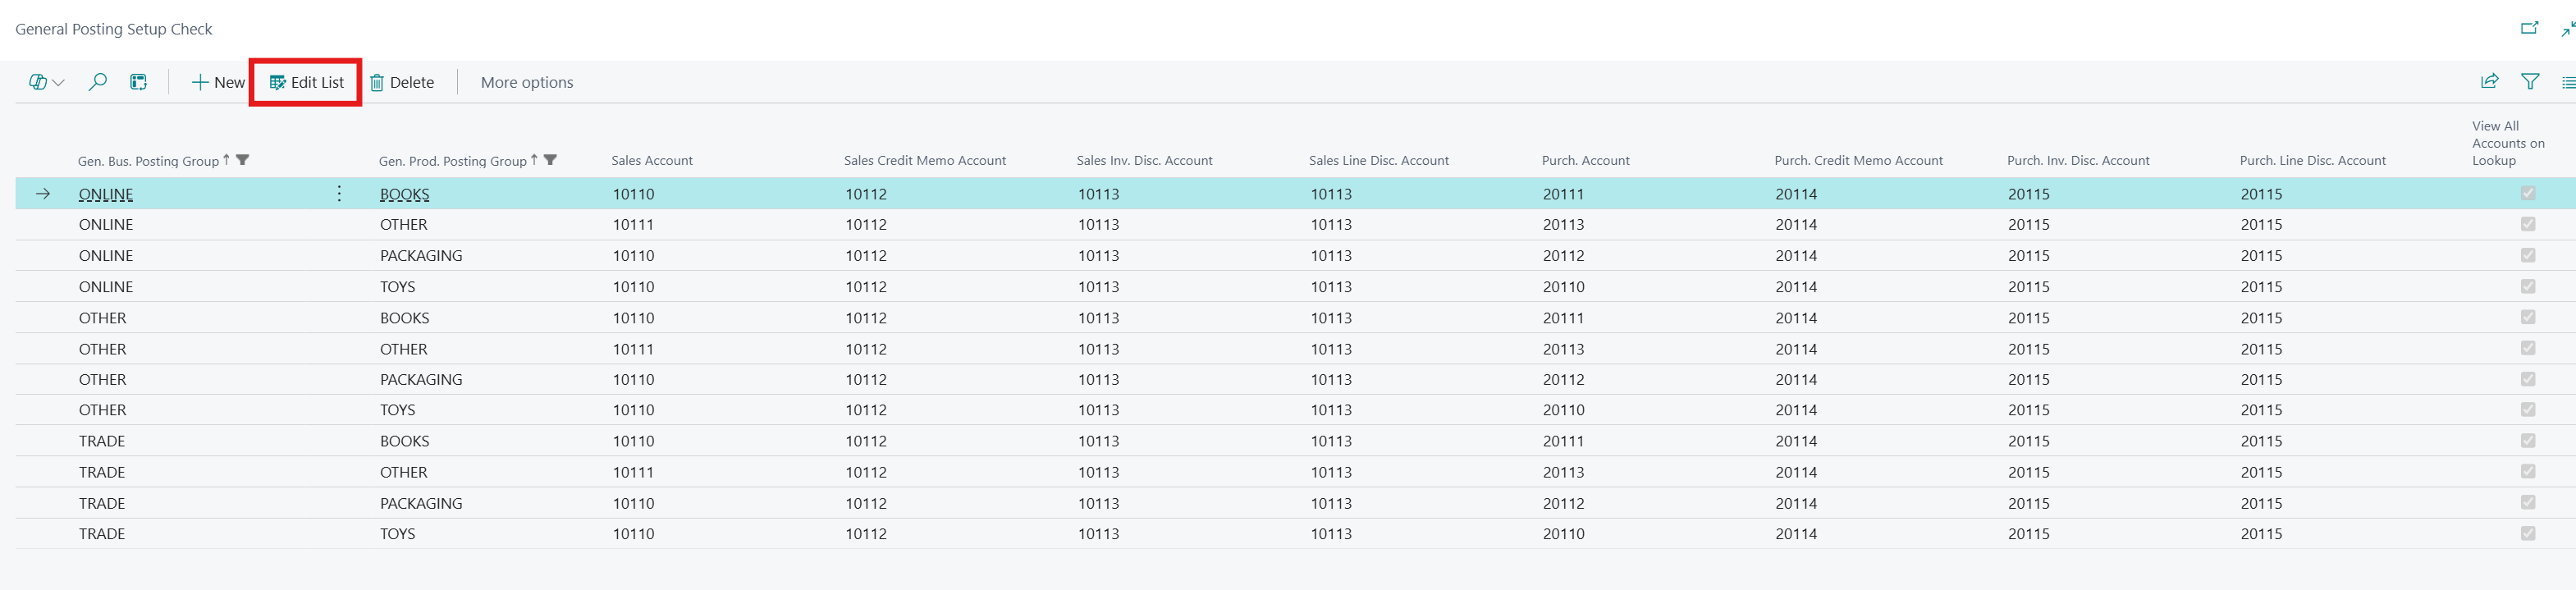
Review the list and select Edit List to amend any nominal accounts. Otherwise select the back button to exit out.
This concludes Smarter Configuration section.
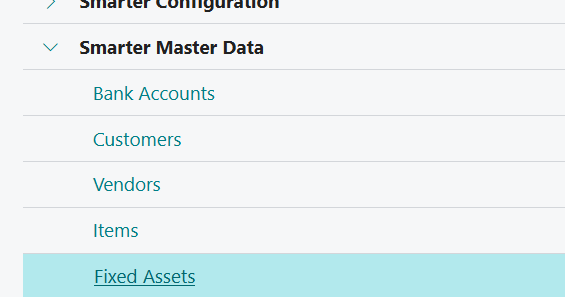
Smarter Master Data
The following section deals with uploading master data into Business Central.
Bank Accounts 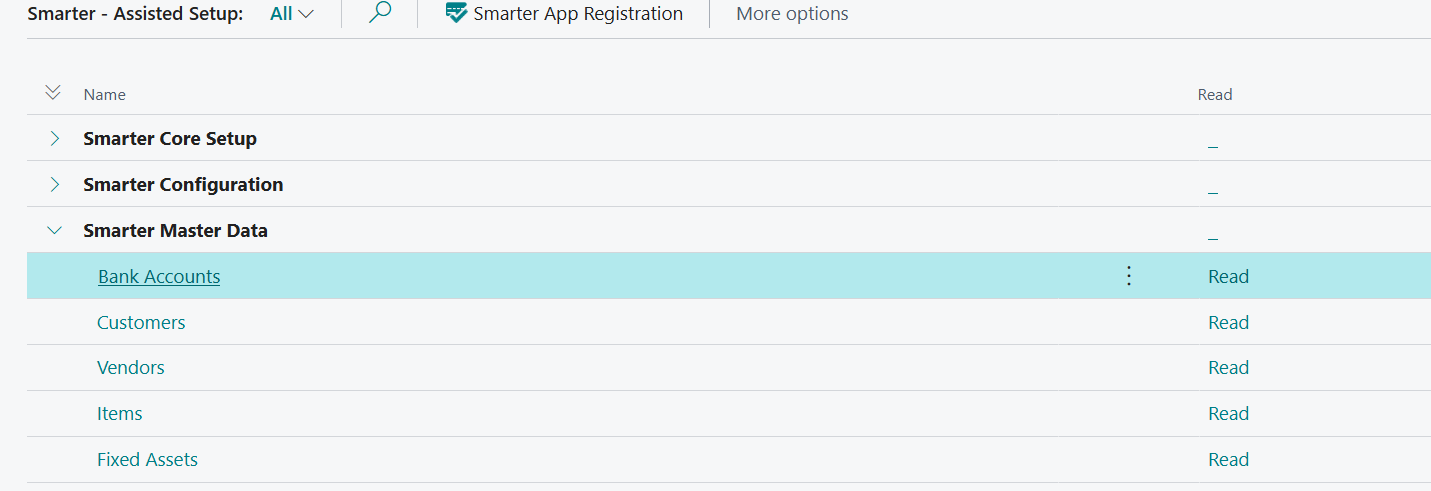
Follow the wizard and fill in bank details either manually or via edit in excel mode. Select Bank Accounts

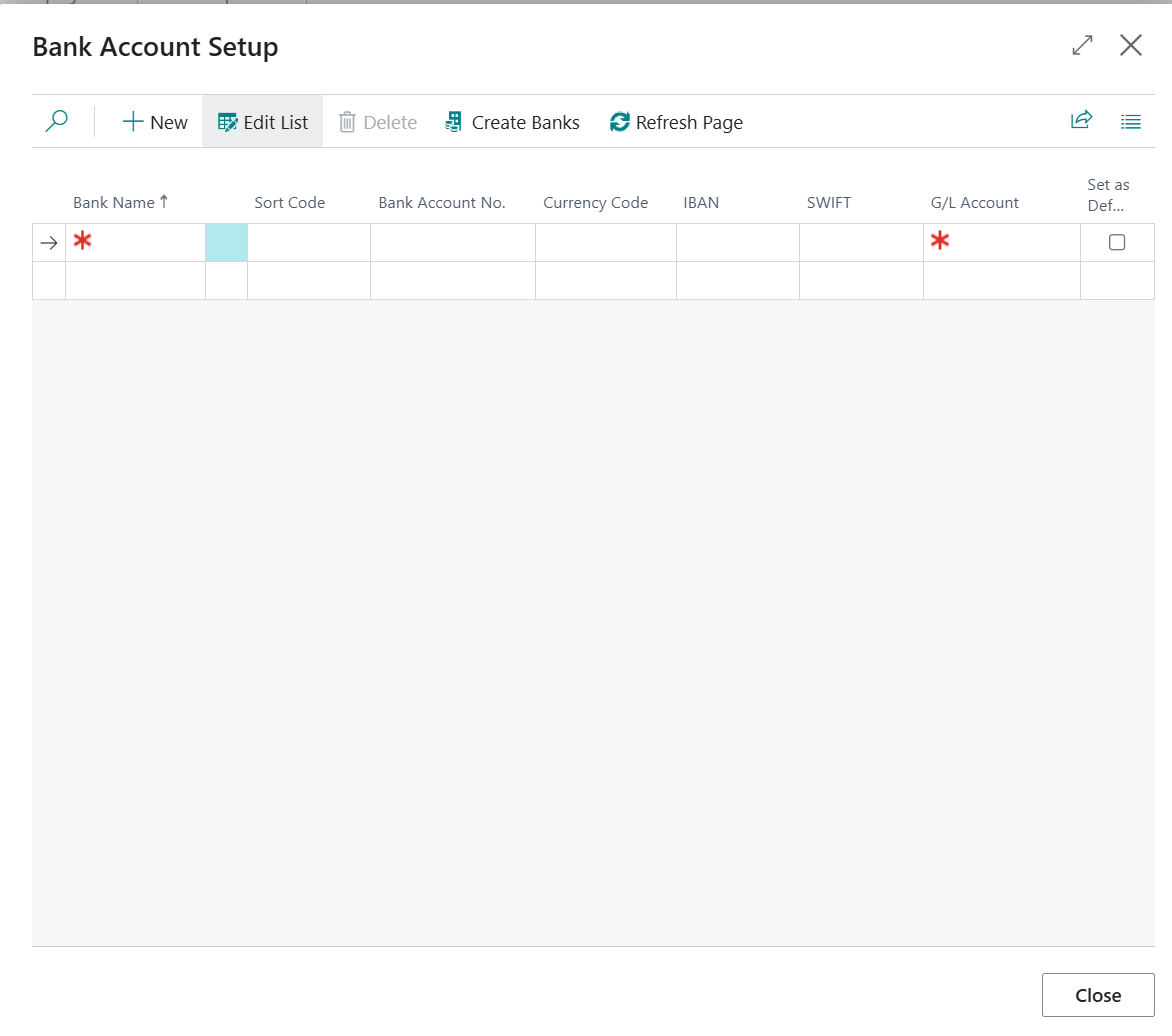
Fill in bank account details (refer to excel template).
Bank Code: Free text field for up to a maximum of 20 characters.
Bank Name: Self Explanatory. Free text field.
Sort Code: 6 digit number – mandatory if Currency Code is left blank.
Account No: 8 digit number - mandatory if Currency Code is left blank.
Currency Code: Select from drop down list for foreign currency. For local currency (example GBP), leave blank. If relevant currency codes are not found on this list, please reach out to your Microsoft Partner for further assistance
IBAN: Optional field. Self-explanatory
Swift: Optional field. Self-explanatory
GL Account No: Select from drop down list.
Set as default: Tick for only 1 Bank. Leave the other banks blank.
Select Create Banks and a pop up message will show as follows: 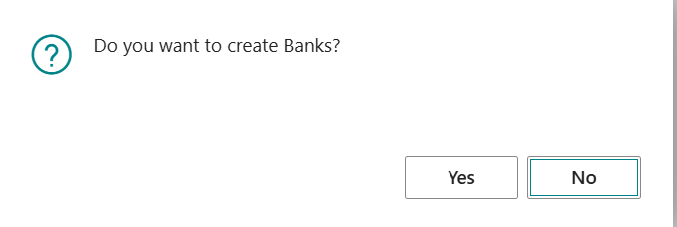
Select Yes
A new pop up message will appear
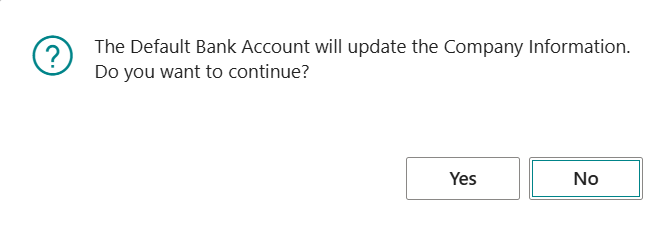
Select Yes and Select Close to get back to main page
Customers

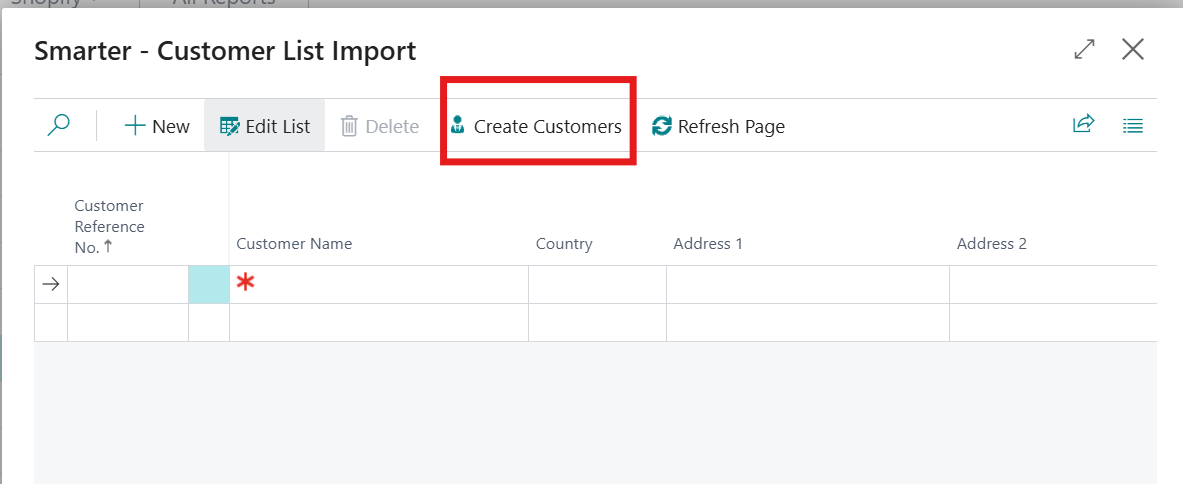
Follow the wizard and fill in customers details manually or via edit in excel mode. Select Customers
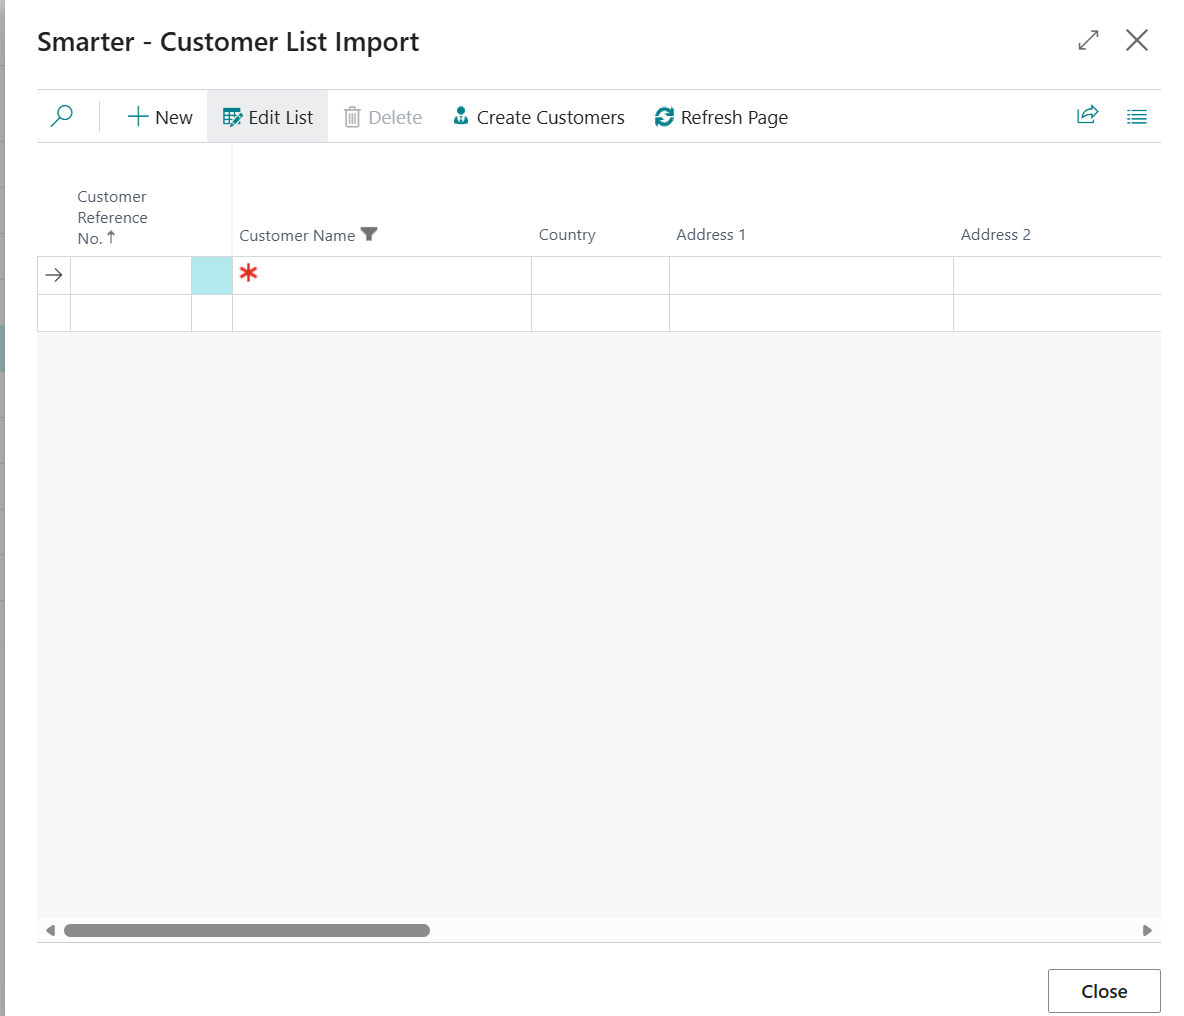
A new page will appear:
Customer Ref No: Refer to Excel template 04-Customers. Free text field for up to a maximum of 20 characters.
Customer Name: Refer to Excel template 04-Customers. Free text field for up to a maximum of 100 characters.
Country: Select from drop down list. If relevant countries are not found on this list, please reach out to your Microsoft Partner for further assistance.
Address: Refer to Excel template 04-Customers. Free text field for up to a maximum of 100 characters.
Address 2: Refer to Excel template 04-Customers. Free text field for up to a maximum of 50 characters.
City: Refer to Excel template 04-Customers. Free text field for up to a maximum of 30 characters.
County: Refer to Excel template 04-Customers. Free text field for up to a maximum of 30 characters.
Post Code: Refer to Excel template 04-Customers.
Email: Refer to Excel template 04-Customers.
Credit Limit: Refer to Excel template 04-Customers
Currency Code: Select from drop down list for foreign currency. For local currency (example GBP), leave blank. If relevant currency codes are not found on this list, please reach out to your Microsoft Partner for further assistance.
VAT Group: Select from drop down list.
Customer Group: Refer to Excel template 04-Customers or select drop down list and select the relevant Customer Group code.
Payment Terms: Select from drop down list. If relevant payment terms are not found on this list, please reach out to your Microsoft Partner for further assistance.
Select Create Customers and Smarter solution will create customer data
Select Close to get back to main page
Vendors
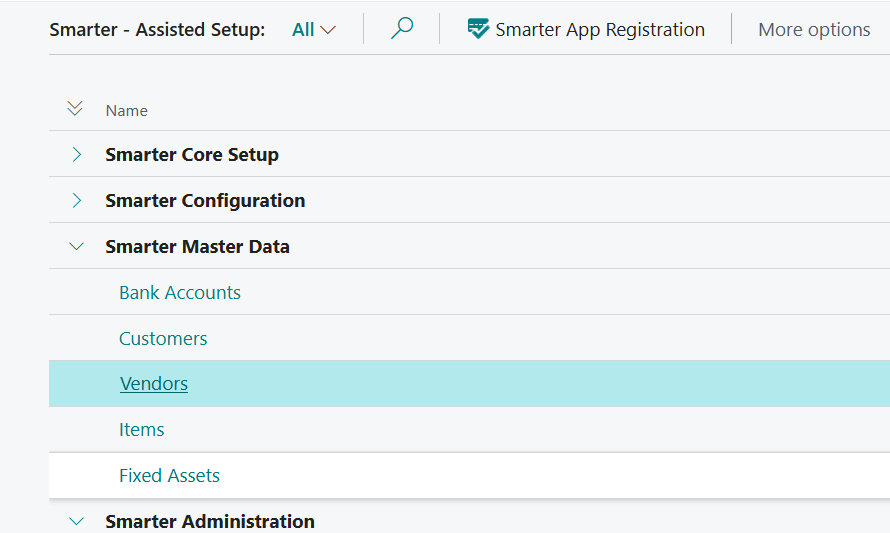
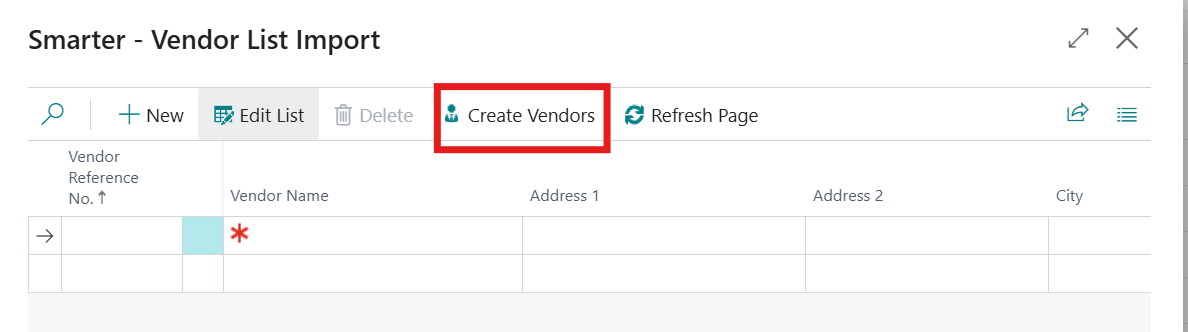
Follow the wizard and fill in vendors details manually or via edit in excel mode. Select Vendors
A new page will appear:
 Vendor Ref No: Refer to Excel template 05-Vendors. Free text field for up to a maximum of 20 characters.
Vendor Name: Refer to Excel template 05-Vendors. Free text field for up to a maximum of 100 characters.
Country: Select from drop down list. If relevant countries are not found on this list, please reach out to your Microsoft Partner for further assistance.
Address: Refer to Excel template 05-Vendors. Free text field for up to a maximum of 100 characters.
Address 2: Refer to Excel template 05-Vendors. Free text field for up to a maximum of 50 characters.
City: Refer to Excel template 05-Vendors. Free text field for up to a maximum of 30 characters.
County: Refer to Excel template 05-Vendors. Free text field for up to a maximum of 30 characters.
Post Code: Refer to Excel template 05-Vendors.
Email: Refer to Excel template 05-Vendors.
Credit Limit: Refer to Excel template 05-Vendors
Currency Code: Select from drop down list for foreign currency. For local currency (example GBP), leave blank. If relevant currency codes are not found on this list, please reach out to your Microsoft Partner for further assistance.
VAT Group: Select from drop down list.
Vendor Group: Refer to Excel template 05-Vendors or select drop down list and select the relevant Customer Group code.
Payment Terms: Select from drop down list. If relevant payment terms are not found on this list, please reach out to your Microsoft Partner for further assistance.
Select Create Vendors and Smarter solution will create vendor data
Items
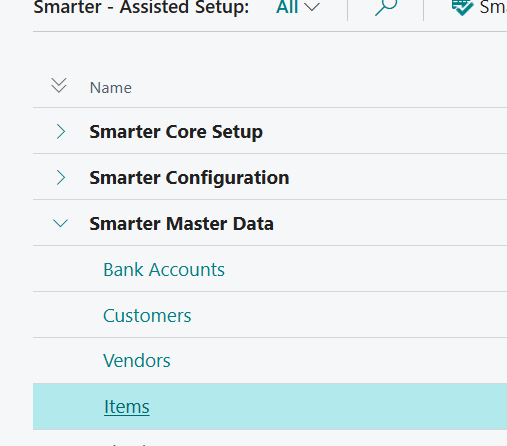
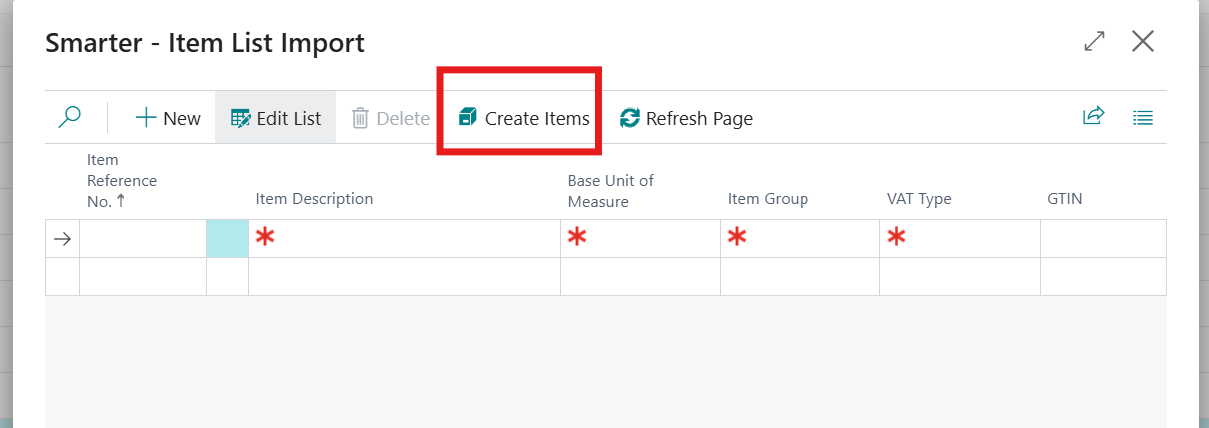
Follow the wizard and fill in inventory details manually or via edit in excel mode. Select Items
A new page will appear:
Inventory Ref No: Refer to Excel template 06-Items. Free text field for up to a maximum of 20 characters.
Inventory Description: Refer to Excel template 06-Items. Free text field for up to a maximum of 100 characters.
Base Unit of Measure: Refer to Excel template 06-Items or select from drop down list and fill in the relevant unit of measure. This should be the lowest denominator for the item. For example, purchase is in a pack and sales is in each. Therefore, base unit of measure should be each. Select from drop down list. If relevant unit of measures are not on this list, please reach out to your Microsoft Partner for further assistance.
Item Group: Refer to Excel template 06-Items or select from drop down list and fill in the relevant Item Group code
VAT Type: Refer to Excel template 06-Items or select from drop down list
Standard Cost: Refer to Excel template 06-Items or select from drop down list
Select Create Items and Smarter solution will create item data
Fixed Assets
Follow the wizard and fill in fixed assets details manually or via edit in excel mode. Select Fixed Assets
A new page will appear:
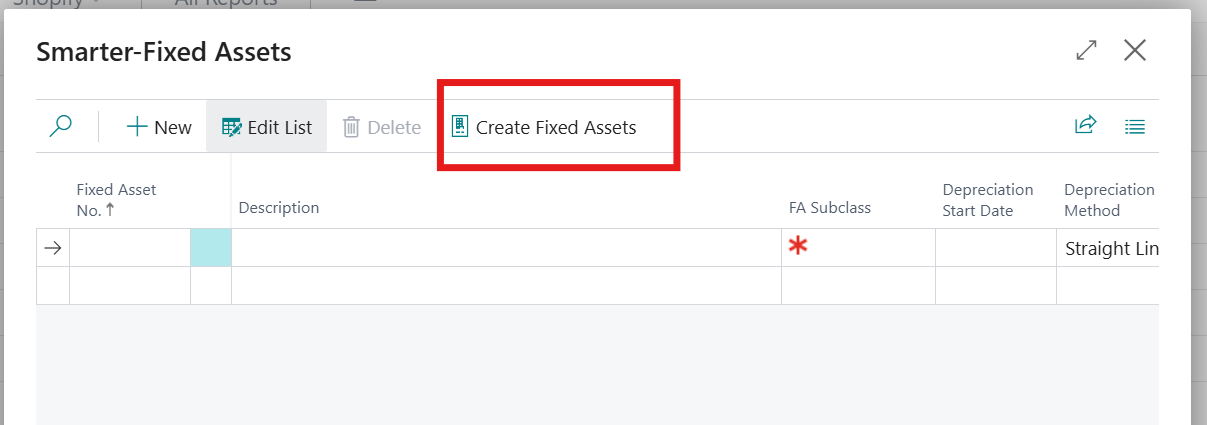
Fixed Asset No: Refer to Excel template 07-Fixed Assets. Free text field for up to a maximum of 20 characters.
Description: Refer to Excel template 07-Fixed Asset. Free text field for up to a maximum of 100 characters.
FA Subclass: Refer to Excel template 07-Fixed Assets or select from drop down list and fill in the relevant FA Subclass.
Depreciation Start Date: Refer to Excel template 07-Fixed Assets or fill in relevant date
Depreciation Method: Refer to Excel template 07-Fixed Assets or select from drop down list and fill in the relevant method
Depreciation %: Refer to Excel template 07-Fixed Assets or fill in relevant percentage.
No of Depreciation Years: Refer to Excel template 07-Fixed Assets or fill in relevant number.
Select Create Fixed Assets.
This concludes Smarter Master Data section.
Smarter Administration
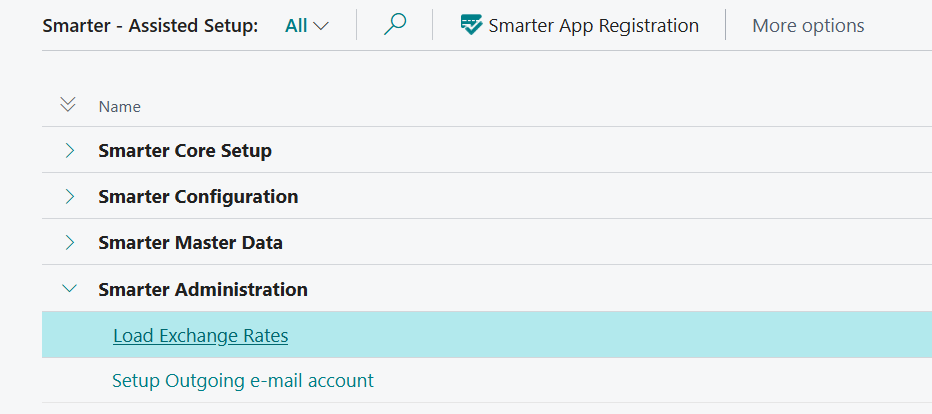
This section is optional. Exchange rates will set up float rates exchange rate service. Outgoing Email setup will be dependent on company policies on email account.
Load Exchange Rates
By selecting this action, the company will be using float rates service. This is a free service.
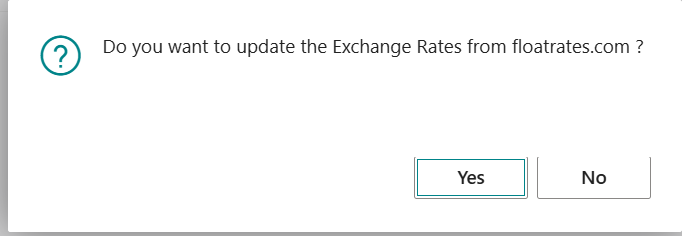
Note: Updating the exchange rates will be a manual task that must be incorporated into BAU (business as usual) operations. Select Load Exchange Rates
Setup Outgoing Email
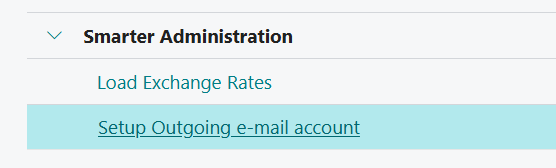
Select Setup Outgoing e-mail account and a new page will appear
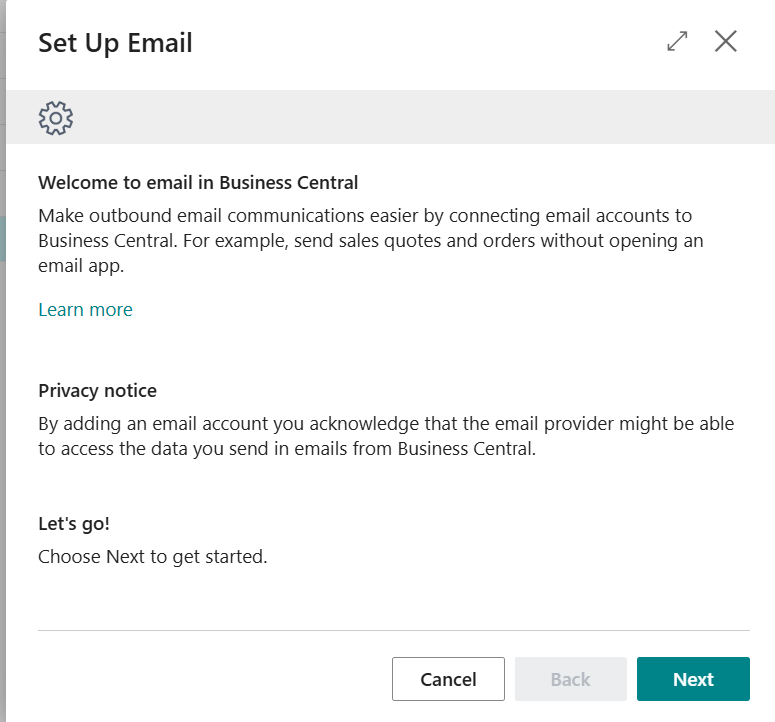
Select Next
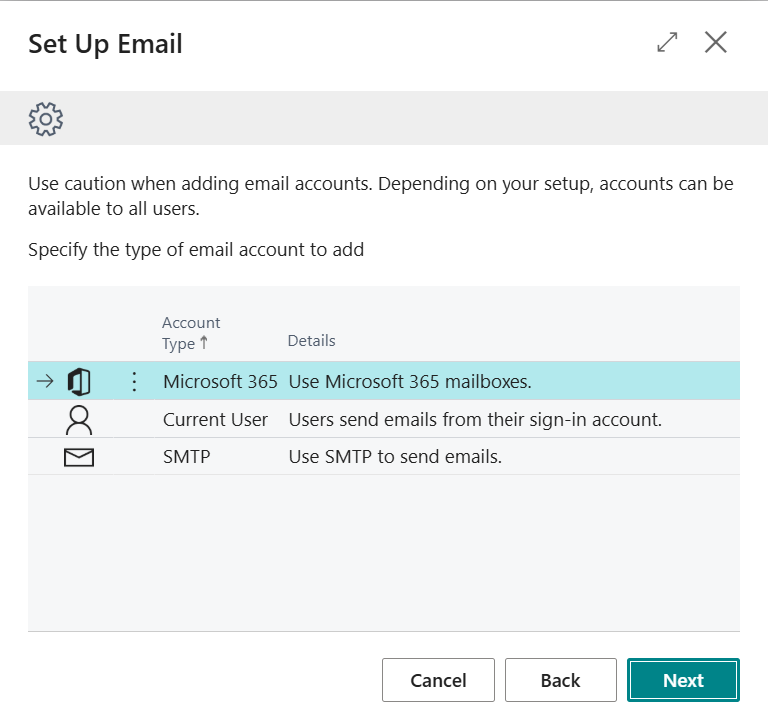
There are 3 options here. Please select the most relevant option based on business policy. Select Next
Follow the wizard and Business Central will configure emails accordingly.
This concludes Smarter administration section.
Business Central is now configured and operational.